DirectShop(
https://vrmcloud.net/directshop/shopplus/ )にてウィンターセールがスタートしました!
鉄道模型シミュレーターNXのアンロック製品が最大30%off、NXシステムパッケージのおまとめセットを20%offでご提供しています。ぜひこの機会にご検討下さい。
DirectShop(
https://vrmcloud.net/directshop/shopplus/ )にてウィンターセールがスタートしました!
鉄道模型シミュレーターNXのアンロック製品が最大30%off、NXシステムパッケージのおまとめセットを20%offでご提供しています。ぜひこの機会にご検討下さい。
蒸気機関車の煙を改善&パーティクルに拡大縮小オフセットパラメータを追加しました。
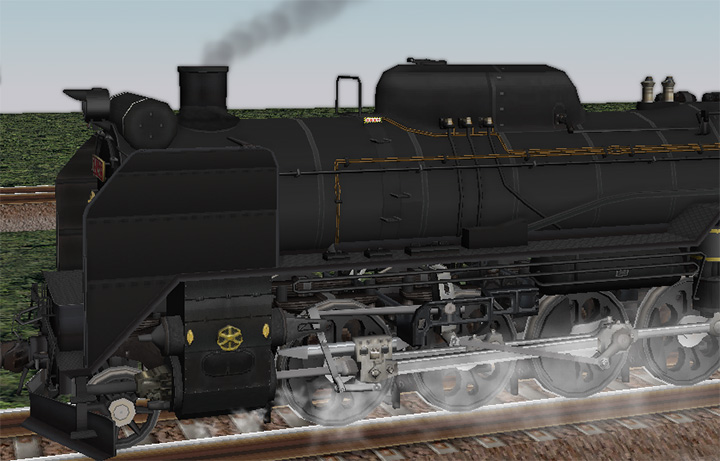
蒸気機関車の煙発生位置の調整と、拡大縮小のオフセット設定を行い、煙の品質を改善しました。
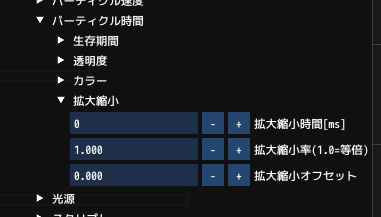
パーティクルの拡大縮小オフセットを設定すると、パーティクルのズームを0.0開始から任意の値で始まるように設定できます。蒸気機関車の煙は、オフセット0.5に設定して、ズームが0.5から拡大されるようにしています。
鉄道模型シミュレーターNXのオリジナルパッケージ第2弾「NX002 キハ58前期型/14系特急形客車」をダイレクトショップにてお取り扱い開始しました。
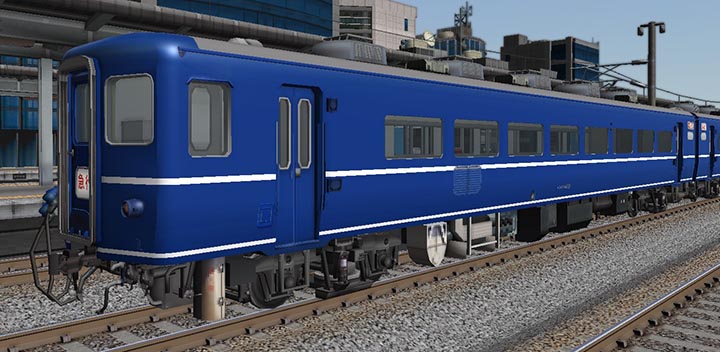
メジャーな国鉄車両キハ58の平窓タイプがついに登場です。冷房車、非冷房車をあわせて収録。気動車急行をぜひお楽しみください。
臨時特急などで活躍した14系特急形客車も収録。183系特急形電車に準じたハイグレードな国鉄客車をお楽しみいただけます。
DMM GAMES様など各ダウンロード販売サイトは、準備ができ次第お取り扱いを開始します。
クモユニの組み合わせで最盛期の113系東海道本線東京口のシーンを再現できる国鉄113系湘南色を開発中です。
旧作でリリースした113系から大幅にポリゴンを増加。Hゴムが白色の登場時のスタイルを再現。南管理局国府津に配置されていた車両を製作しています。
NXシステムのビルド126を公開しました。
自動センサーに天候関連のコマンドを追加しました。太陽の設定、背景の設定などが行なえます。夕焼けから夕闇へと徐々に変化するシーンを自動センサーで演出できます。またフォグの切り替えアニメーションもビルド126で実装しました。
スクリプトには、ディレクトリの取得命令などを追加しました。レイアウトファイルとあわせて外部のデータファイルをロードする場合などにご利用ください。
弊社サポートへいただいたお問い合わせです。非常にまれなケースで情報が限られているため、FAQを記載します。
このエラーコードは、Windowsによってアプリのインストール、アンインストール時に表示されます。アプリには問題ございません。
Windows インストーラーが、アプリをインストールするとき、ファイルの書き込み先にユーザーのアクセス権限がない場合に表示されます。
1:インストール権限のないアカウント
管理者権限のあるアカウントでWindowsにサインインして、インストールしてください。
2:書き込み先の権限を失っている
Windowsに問題が生じて、書き込み先の権限を失っている場合は、管理者権限のあるアカウントでWindowsにサインインして、エクスプローラーで該当するフォルダおよびファイルのプロパティを開いて、セキュリティタブでフルコントロールになるよう設定してください。
Windowsの作業ディレクトリ、TEMPフォルダの異常などが原因になるようです。
ユーザーアカウント名/AppData/Local/Temp
が、TEMPフォルダの位置になります。エクスプローラーの表示設定で隠しフォルダを表示するようにしてから作業してください。
公式サイトをリニューアルしました。
サイト内のURL構成が変更になります。
VRMONLINE-NX、鉄道模型シミュレーターNXの公式製品ページを公開しました。また、新しいサイトに対応したNXシステムビルド124を公開しています。
弊社ダイレクトショップの税込価格表記を新しい消費税価格に変更しました。
あわせてダイレクトショップでお取り扱いしている鉄道模型シミュレーター5のシステムパッケージの価格を少しお得な価格にさせていただきました。システムパッケージは、製品在庫限りとなっております。
送料、コレクト料金は税込み価格を消費税改定前と同じ価格に設定しております。
VRM5のアップグレードサービス、ステップアップサービスは、近日予定のサイトリニューアルにあわせてサービスを終了いたします。(現在の価格は消費税改定前と同じです。)
国鉄時代の東海道本線東京口普通列車の先頭を飾った郵便荷物電車クモユニ74を開発中です。車体の色味は、調整中です。
一部の普通列車の下り先頭車に接続された走る郵便局です。旧型電車、新性能電車のいずれにも連結、走行できるようになっています。
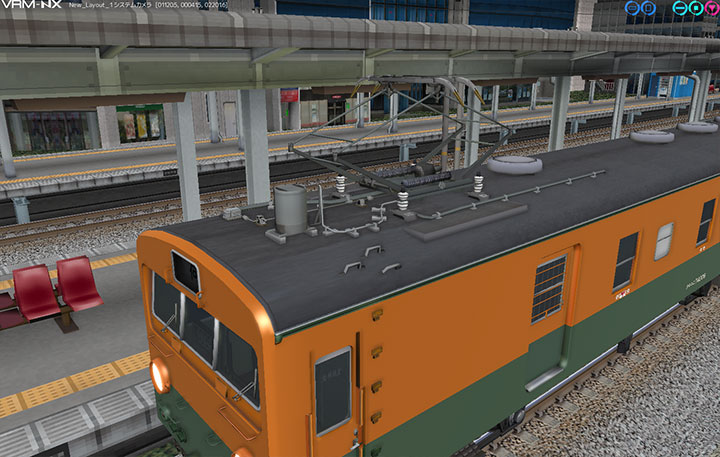
初期のデカ目タイプをベースにPS13、PS16搭載車をそれぞれ制作しています。
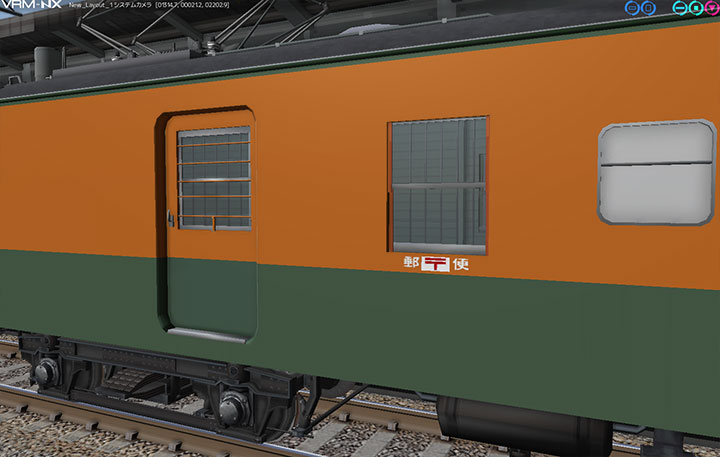
余剰となった旧型電車がベースになっています。台車、床下機器は、旧型電車そのものです。ガラス破損防止の柵は、1本ごとにポリゴンで形成しています。
キハ58系気動車のグリーン車キロ28です。
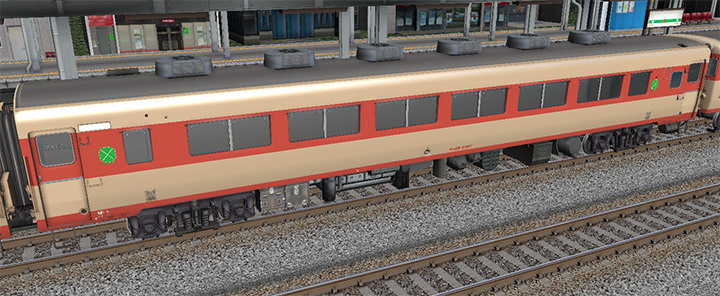
平窓車と同じ断面形状のキロ28前期型です。153系急行電車のグリーン車と同等の設備になっています。
冷房用発電機を搭載。編成中の他の車輌に冷房用電力を供給します。